Posts

Showing posts from 2015

Rococo Socks

Image
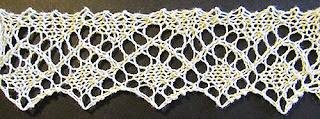
These lacy socks were created using a beautiful Japanese stitch pattern that has been slightly adapted and simplified, resulting in an intricate and complex design. The process of knitting this pair of socks requires your complete attention on each round. There are no "rest rows" where you can relax and knit mindlessly. When I say "complete attention," I mean absolute concentration to the point where you become immersed and almost lose sense of reality. Knitting these socks does not allow for meaningful conversations or distractions. You can't listen to or hear anything, and multitasking by knitting while watching or reading is not feasible (even though I love doing that too!). It's important to avoid starting any other activities like cooking on the stove or in the oven while knitting these socks, as it could be dangerous. So, you might wonder, who would be willing to go through such an involved process just for a pair of socks? It may sound silly, but I...
An antique book with lace stitch patterns

Image
I would love to share with you my recent find - an antique book "The Ladies' Guide to Elegant Lace Patterns, Etc." by Eva Marie Niles, published in 1884. Whilst this book is technically out of print, it can be downloaded for free online. A large number of patterns from the book are also available for free online in an updated format for modern knitters. Find it on Ravelry . Just look at this beautiful lace stitch patterns!

Drops Delight Socks

Image
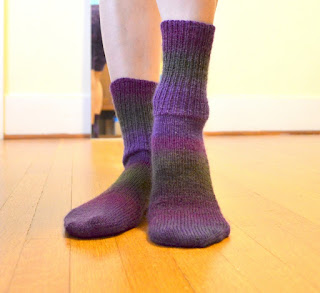
I'm so exited! My colorful socks were featured in the Craftsy's Newsletter . Yarn: Drops Delight . Color 14 Purple Green. Needles: Dpn US 0 - 2.0 mm. CO 16x16x16x16 sts. 1x1 rib 5 1/2" long. 1 1/2" long in St st. Heel gusset formed by wrap and turn short row technique. Special thanks to Carol Feller and her free Craftsy class "Short Rows" . Toe dec 4 times every 2nd round, then every round until 20 sts rem. Graft 10x10 sts. To make both socks the same color wasn’t easy, though! I bought 2 balls of yarn in the same dye lot. Made my first sock without a clue that I’m going to suffer with the next one. The next sock was started with a new ball of yarn. Color transition was in the same order, but the length of each color was different. So, I had to cut the yarn every time when I notice that I have already enough of it in my sock, wind off some amount of yarn until necessary transition begins, cut excess yarn. Luckily the yarn ball of my second soc...

Pattern: Precious Lace Shawl

Image
Precious Lace is a beaded lace shawl knitting pattern. It is worked from top to bottom in all-over lace. Silver lined glass beads incorporated into the hem create a richly jeweled edge. This design also features the debut of the “Precious Lace” stitch pattern. Both charted and written patterns are included along with detailed, simple to follow instructions. Finished size 58″ (147 cm) wingspan, 28.15″ (71.5 cm) height at center spine, relaxed after blocking. Measurements may vary according to individual knitting tension. Yarn Lace weight yarn (CYCA 0) Shown here: Malabrigo Yarn Lace (470 yards / 430 meters, 100% merino), color “63 Natural” – 2 skeins. Needles US 0 / 2.00 mm Notions Size 8, silver lined crystal clear round Japanese beads – 1458 pieces (approx. 40 g); Hook for placing beads US 13/14 (0.9 mm); Markers; Blocking accessories; Darning needle. Gauge 25.5 sts x 41 rows = 4” (10 cm) in Precious Lace stitch pattern. This pattern can be found here: Etsy ...

"Precious Lace" Shawl with Beads

Image
Pattern for this shawl is coming soon. Size: 147 x 71.5 cm. Needle: US 0 (2.00 mm). Yarn: Malabrigo Yarn Lace (100 % merino wool) 2 skeins. Beads. Hook US13/14 (0.9 mm). See  this project on Ravelry .

Shawl for Britain's new Princess

Image
ELEGANT SOFT WOOL BABY SHAWL from G.H. Hurt and Son Ltd. for Britain's new Princess a second child of Prince Charles and Kate. A beautiful machine made shawl is on high demand right now and can be pre-ordered for £68.00. Of coarse it is possible to hand knit the same design. The pattern looks not too complicated, but indeed very elegant.

Tutorial: Place Bead Using a Hook

Image
Impale the bead onto a crochet hook (Figure 1). Insert the hook into the stitch loop where the bead will sit, making sure that the hook is facing yo (Figure 2). Pull the loop through the bead (Figure 3). Replace the stitch loop onto the left needle (Figure 4). Knit the stitch (Figure 5). Figure 1

Pattern : "Mitts with Beads" fingerless gloves

Image
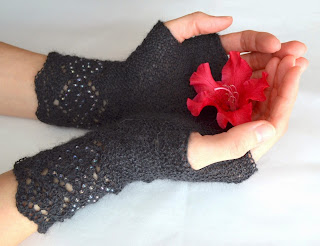
Main accent of these fingerless garter stitch gloves is a decorative lace design with beads on the cuff edge (about 3”). It is made in Orenburg lace pattern and is worked seamlessly and simultaneously with the main part of a glove, forming a lovely scalloped edge. Glass beads, incorporated in the lace pattern, meant to emphasize a sophisticated look. These fingerless gloves are knitted on straight needles in garter stitch and lace pattern. Thumb gusset is created using one of the short row techniques. Grafting completes each glove. Tutorials for all essential techniques necessary for this project are included in this pattern for convenience of a novice knitter. Finished size One size fits most - from 6 ½” (17.7 cm) to 8 ½” (21.6 cm) hand circumference across knuckles. When relaxed and flat: 8.5” (21.6 cm) long, 2.75 ” (7 cm) wide across knuckles, 3” (7.6 cm) across widest part of the glove over thumb gusset. The size can be adjusted by repeating Chart “Right (and then Left) Hand”...

Pattern: Fingerless gloves on straight needles

Image
Description These fingerless gloves showcase a delightful combination of simplicity and elegance. Knitted on straight needles in the cozy garter stitch, the design features a charming lace pattern on the cuff edge, seamlessly integrated with the glove. Thumb gusset is created using the short rows technique. Tight grafting completes each glove. The pattern includes written (row-by-row) instructions, charts. Finished size One size fits most - from 6 ½” (17.7 cm) to 8 ½” (21.6 cm) hand circumference across knuckles. When relaxed and flat: 6 ½” (17.7, cm) long, 3” (8 cm) wide across knuckles, 3 ¾” (9.5 cm) across widest part of the glove over thumb gusset. Yarn Fingering weight yarn (CYCA 1) Shown here: KnitPicks Stroll Hand-Painted (462 yards / 422 meters, 100 gram, 75% Merino, 25% Nylon), “Deep Waters Tonal” color, approximately 0.3 skeins = 138.6 yards / 126.7 meters), 30 grams. Needles US 0 / 2.00 mm needles (straight or circular). Notions Waste yarn and size US D-3 ...

Tutorial: Make 1 Increase (M1) - Left Slant

Image
Left Slant (M1L) With right needle tip, lift the strand between the last knitted stitch and the first stitch and place it on the left needle from front to back (Figure 1), then knit the lifted loop through the back (Figure 2,3). Figure 1

Tutorial: Grafting (Kitchener stitch)

Image
Arrange stitches on two needles so that there is the same number of stitches on each needle. Hold the needles parallel to each other with wrong sides of the knitting facing away from you (unless otherwise instructed). Allowing a yarn in the darning needle to be about four times longer than the width of the grafting area, thread matching yarn on a darning needle. Work from right to left as follows: Step 1. Bring darning needle through the first stitch on the front needle as if to purl and leave the stitch on the needle (Figure 1). Figure 1

Tutorial: Picking Up Selvedge Stitches

Image
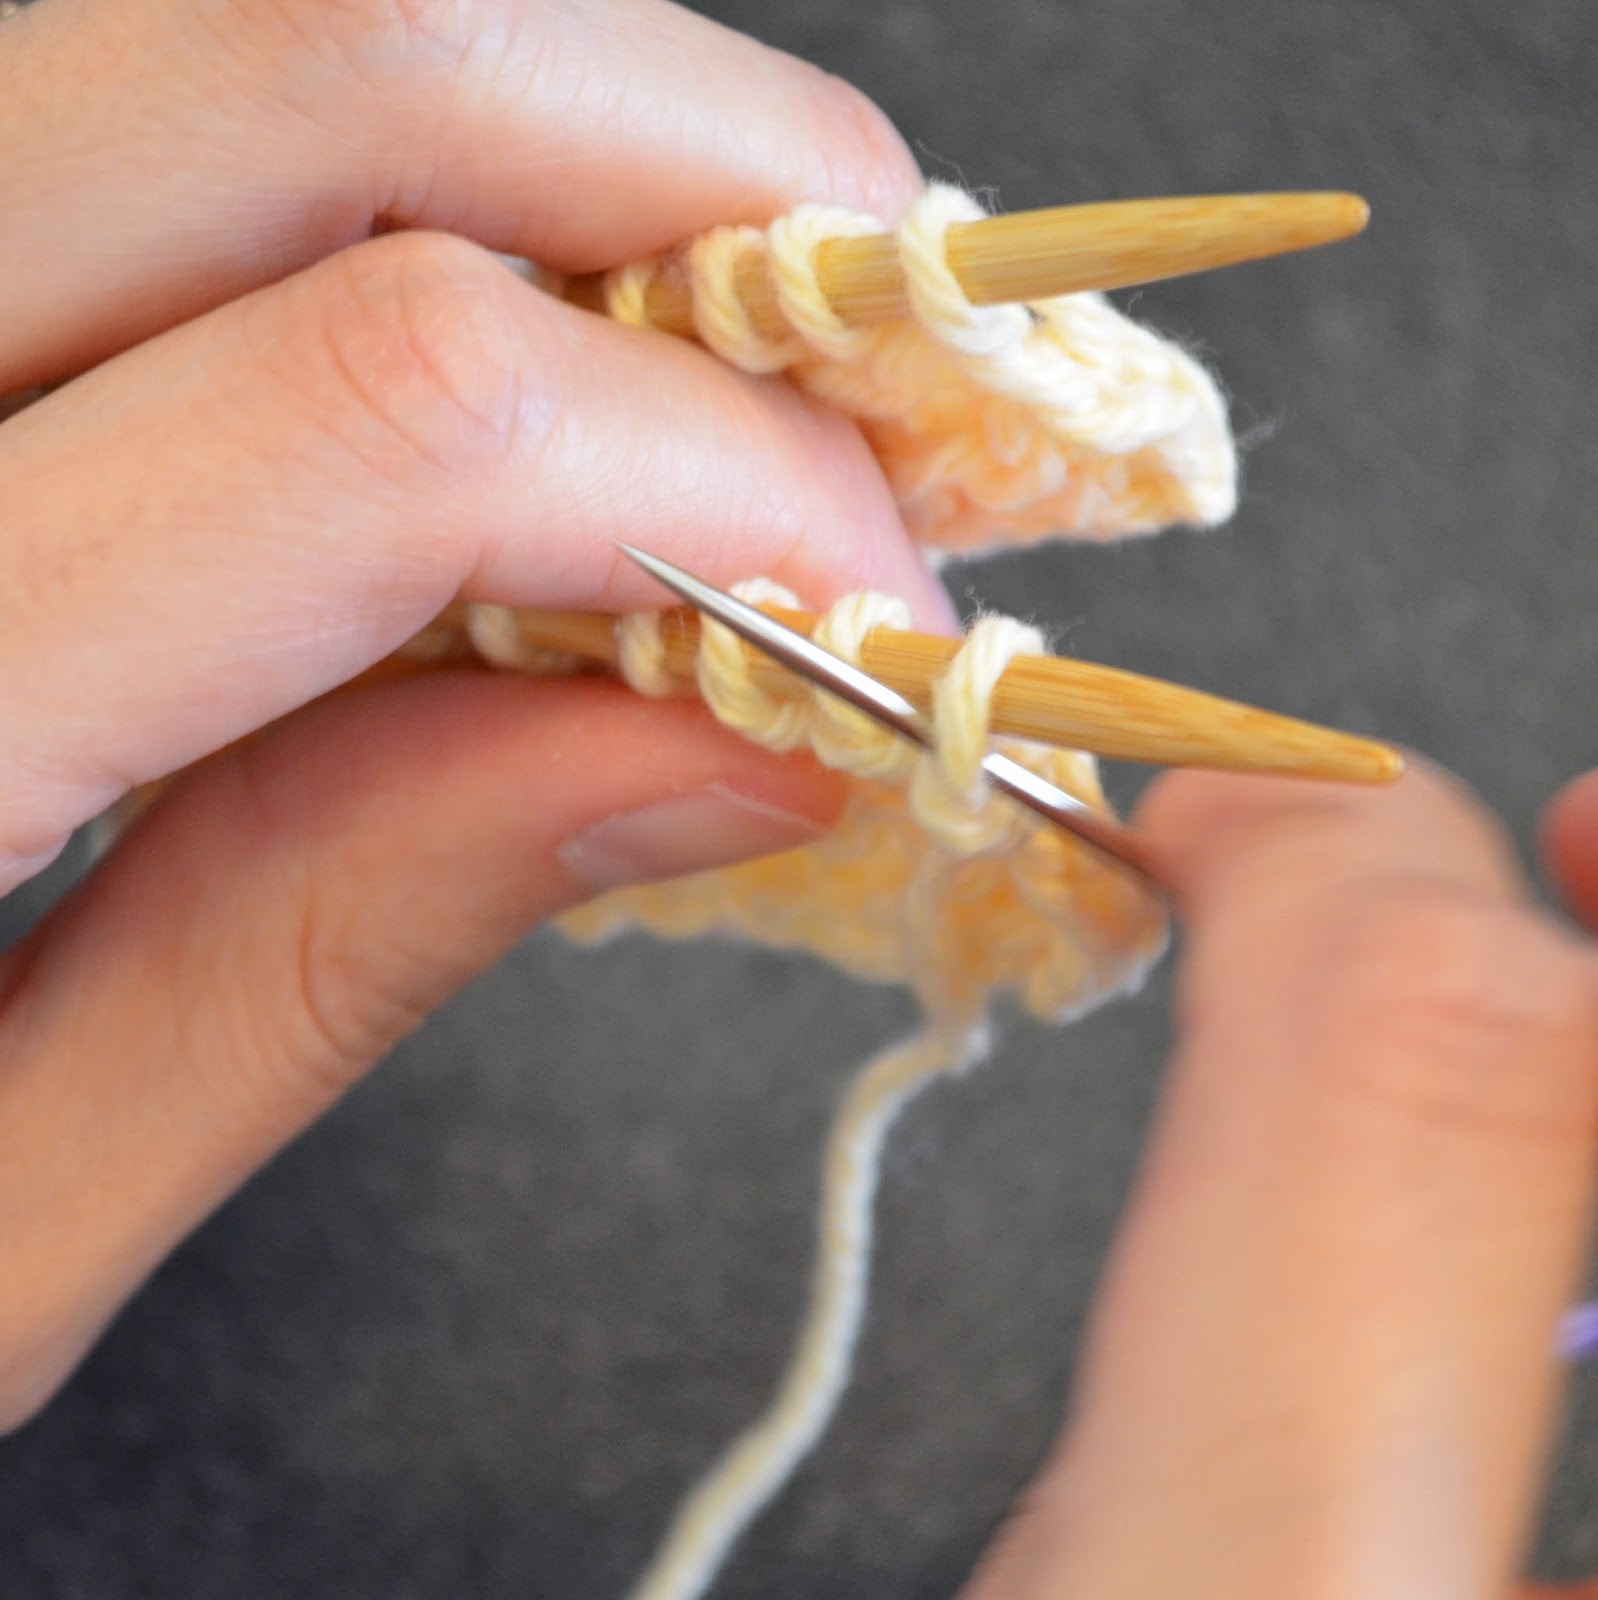
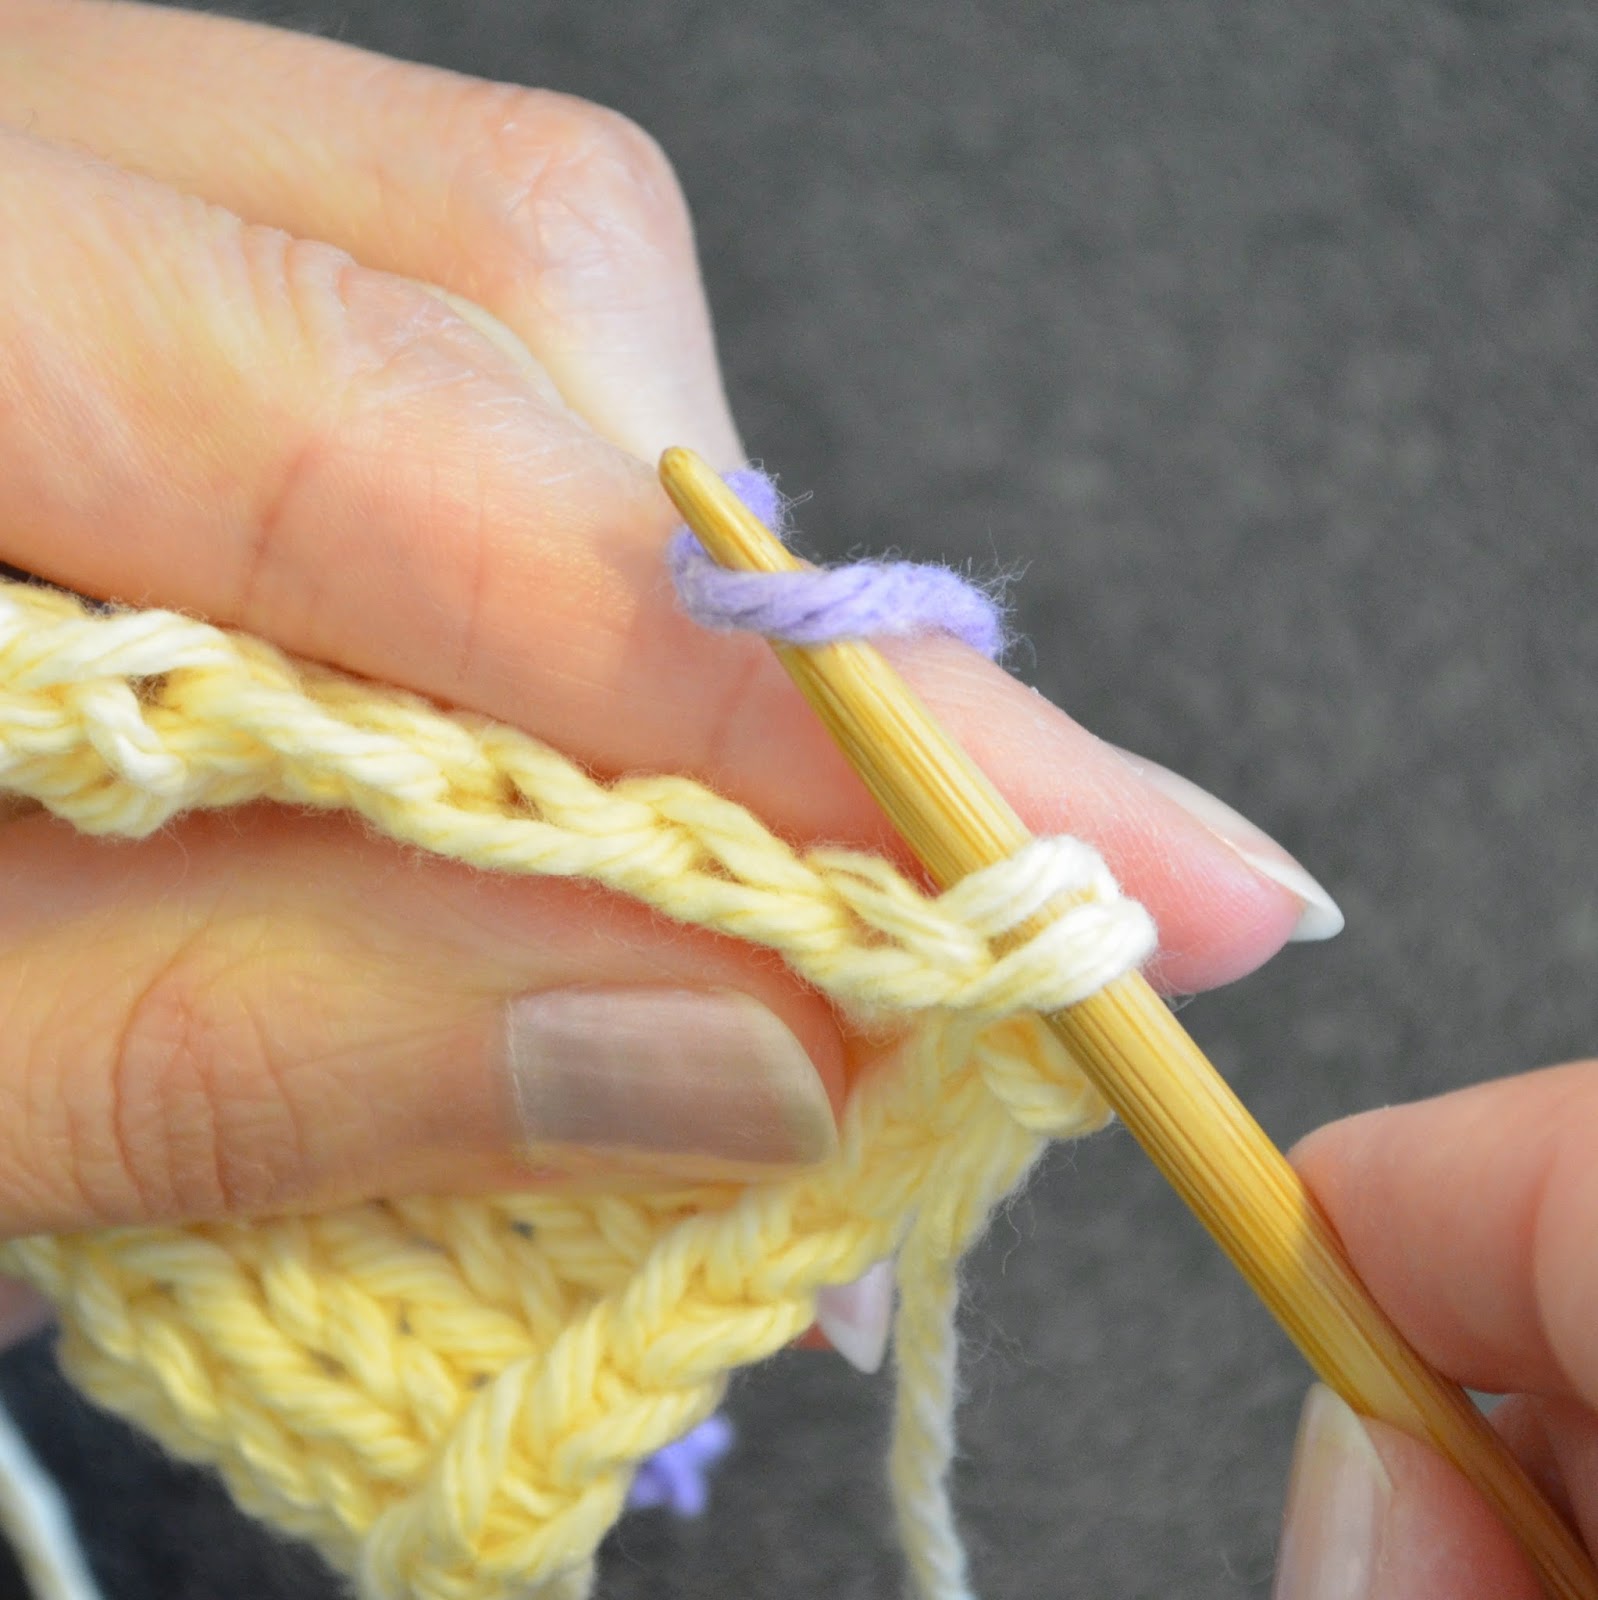
Pick up and knit stitches along the selvedges by picking up three stitches for every two selvedge stitches. To do this pick up one stitch under both loops of the first chain stitch (Figure 1), one stitch under just the back loop of the second chain stitch (Figure 2), then one stitch under both loops of the same chain stitch (Figure 3, 4). Continue in this manner along the entire selvedge edge. You will end with about a third more stitches than there are selvedge stitches. For a fuller edge, pick up one stitch from the first stitch, two from the second stitch, and two from the third stitch, and repeat this sequence along the entire selvedge edge. In order to pick up lesser amount of stitches, pick up only one stitch from one loop of the chain stitch. Figure 1

Tutorial: Crochet Chain Provisional Cast-On

Image
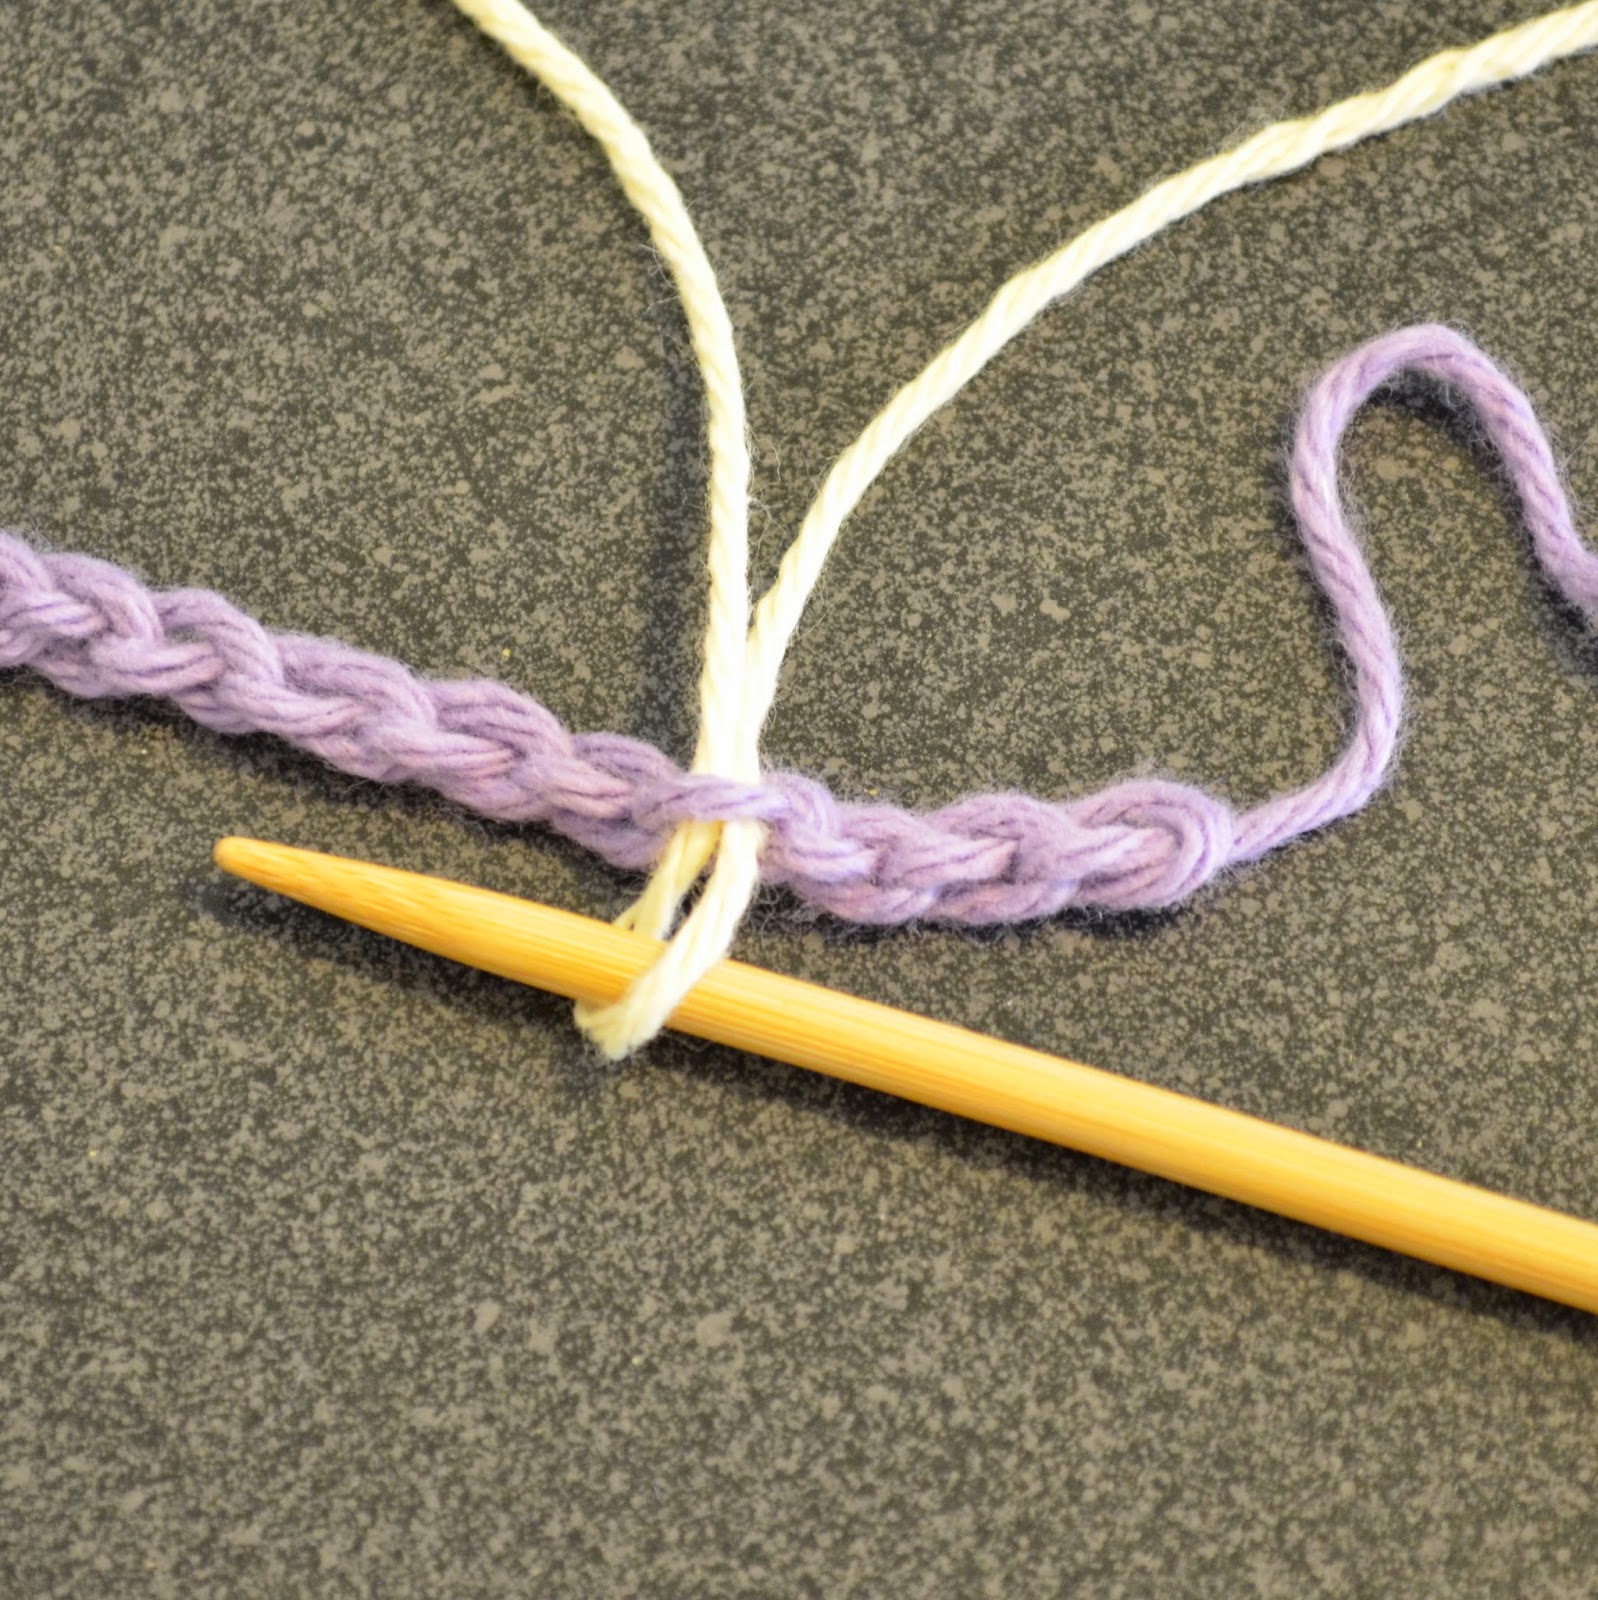
With waste yarn and crochet hook, make a loose crochet chain about six stitches more than you need to cast on. With knitting needle, working yarn, and beginning three stitches from end of chain, pick up and knit one stitch through the back loop of each crochet chain (Figure 1,2) for desired number of stitches. When you are ready to work in the opposite direction, put cast on stitches on your needle (Figure 3, 4, 5), and then pull out the crochet chain to expose live stitches (Figure 6, 7, 8). Figure 1 

Tutorial: Crochet Chain

Image
Make a slipknot and place it on crochet hook (Figure 1). *Yarn over hook (Figure 2) and draw through loop on hook (Figure 3). Repeat from * for the desired number of stitches (Figure 4, 5). To fasten off, cut yarn and draw end through last loop formed. Figure 1

Pattern: Celestina Square Shawl

Image
My new pattern for Celestina Square Shawl has been published! For this shawl, I wanted to divert from more commonly used floral motifs and instead introduce a celestial yet simple theme. The inspiration behind this piece came from the “3from3” stitch, which has always reminded me of a star. From that subject, I designed three stitch patterns for the center, hem and edge naming them “Constellation”, “Milky Way” and “Little Star” respectively. Hence, the name “Celestina”. The shawl is made in two steps without breaking yarn. In the first step, you will knit a square center section in the all-over lace motif "Constellation" which is surrounded by a thin garter-stitch frame. Secondly, a lace edge is worked around the square outwardly. The lace edge consists of the two stitch patterns – “Milky Way” and “Little Star”. Skill level Intermediate / advanced. Finished size About 40” (102 cm) square, relaxed after blocking. Yarn Lace weight yarn (CYCA 0) Shown here: Henry’...